Kingroon KP6 LCD Resin 3D Printer Upgrades
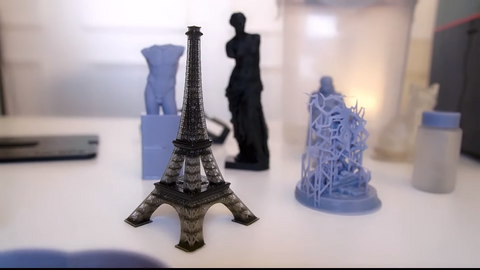
Kingroon KP6 is a resin 3D printer with a 2K monochrome LCD. It has a build volume of 82*129*180mm and prints with great precision and high quality. In this article, we'll follow the guidance of the Maker Wookie's YouTube channel and learn ten upgrades you might be interested to do on the Kingroon KP6 resin 3D printer.
STL file download link for Parts need to be printed for below upgrading of Kingroon KP6 resin 3D printer: https://cults3d.com/en/3d-model/tool/upgrades-for-kingroon-kp6
1. Flexible steel magnetic Build Plate (magnet bed)
The first upgrade you can have for Kingroon KP6 should be installing a new flexible steel magnetic build plate onto the printer.
With a magnetic flexible build plate, you're able to easily take off the printed object along with the build plate and bend it to peel the printed object off. This makes object removal much easier than ever before.
A flexible magnetic steel build plate replacement for LCD resin 3D printer usually comes in two parts, a magnetic base and a flexible steel sheet. It can be directly mounted to the original build plate of a 3D printer.
To install a new magnetic bed, you need only two steps to go.
First, remove the 3M protective film from the magnetic base and then adhere the magnetic base onto the build plate.
If there are slight size differences between the magnetic base and the build plate, you can trim the base to fit with a knife.
Second, put the flexible steel sheet on and it will tightly adhere to the magnetic base automatically due to its strong magnetism.
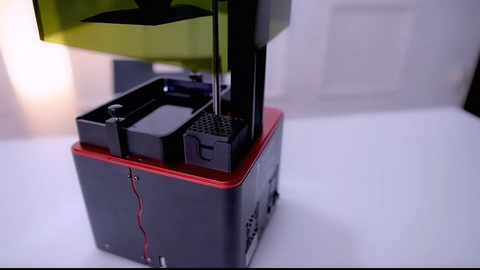
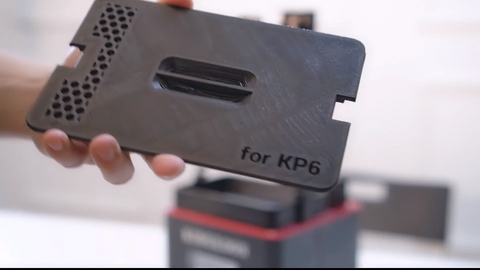
2. Air Filter
Resin 3D print also smells a little bit, so it's better to make a filter for resin printers using the HEPA filter used in 3D printer filters. If you open the inside, there is a white square shaped filter that can filter out fine dust. Black has activated carbon that can help get rid of odors.
Steps to assemble an air filter for Kingroon KP6:
1). Print air filter mounts (four parts in total) first.

2) Disassemble the HEPA filter, and then take the white filter and back activated carbon out.
3) Cut the white filter to fit it into the printed square mount.
4) Cut a gauze filter to fit into the other printed square mount and then pour the black activated carbon in. And then cover the other side with another gauze filter.
5) Assemble all the previous installed parts together and then put them together with the printed casing.
6) Place the whole filter assembly onto the top of the fan inside the KP6 resin 3D printer.
3. Bed holder
After every print, we have to clear resin liquid leftover on the print bed and it can be quite exhausting if you hold the bed to dry it. A better solution is to hang the bed with a printed holder and leave the resin liquid drain out on its own.
This 3D printed bed holder created by SANGUKB can hang the print bed obliquely and resin liquid drains fast.
4. Vat cover
It's quite common that after printing we place the print bed onto the vat below. But the print bed has sharp corners and sometimes may damage the FEP film. Put a printed cover onto the top of the vat can prevent tearing the FEP film inside the vat. The vat cover has a grooved handle in the middle for easy pick-up.
5. Vat scoop
This printed vat scoop has sharp yet soft and flexible front edge that makes scooping out print residues or failed print part much easier without hurting FEP film below.
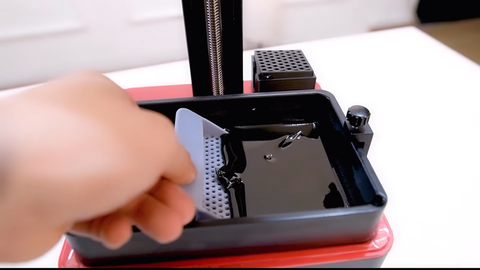
6. Card scrapper
Card scraper is also a printed tool for removing resin residues on the FEP film. You can fold a piece of playing card into halves and then insert it into the opening of the printed scarper.

Being made of paper, a card scraper is soft enough and will not hurt the FEP film while removing resin residues. And you can replace it with a new playing card after each use. If you don't have playing cards, you can use PVC paper cards instead.
7. Cover handle
It's inconvenient to pick up the Kingroon KP6 cover. With a printed cover handle, this is no longer a problem.

Steps to install the cover handle:
1) Remove the Logo tag on the top of the cover.
2) Place the washer of the handle cover just over where once the logo tag is placed, and mark out the four hole positions with a marker pen.
3) Drill out the four holes and mount on the cover handle.
8. IPA magnet holder
Cleaning vat scoop with isopropyl alcohol can be annoying task to do. And a printed IPA magnet holder can be mounted onto the cover of a seal box and holds a vat scoop on the inside top of the seal box, which makes vat scoop cleaning easier.
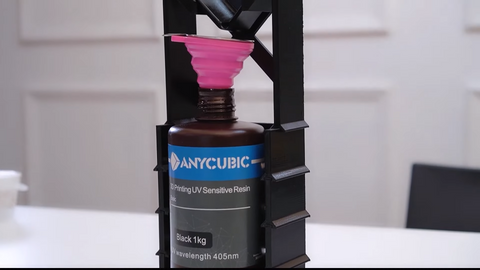
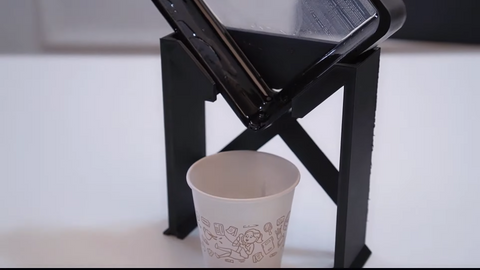
9. Resin Drip stand
This drip stand is designed to support the vat while dripping out liquid resin leftover. It can be stacked up like below to drip liquid resin back into your resin bottles.
The above ten upgrades for Kingroon KP6 LCD resin 3D printer were contributed by Marker Wookie on his YouTube channel. In addition, if you want to paint your KP6 with more personalized looking, just watch the video from 11:05. It will show you how to do the paint step by step.
Comments
Leave a comment